-
Posts
3 -
Joined
-
Last visited
-
Days Won
1
Content Type
Profiles
Forums
Blogs
Events
Posts posted by Spire
-
-
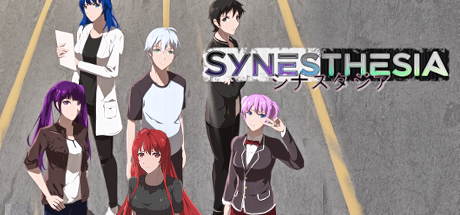
Synesthesia can be navigated quite easily using the flowchart without the need for a guide.Having said that, this guide will ensure you take the quickest route to the True End. This will also unlock all endings, achievements and tips for 100% completion.There will be a few minor scenes you may miss between the characters, but nothing of consequence.
Any route order is fine, and in some cases is enforced. This guide will take the order of Common Route, Keller Route, Isla Route, Eris Route -> True route.
COMMON ROUTE:
SpoilerCH 1
Mon 04/09
Move to living room
Move to the instituteMove to main street; move to cheeky dog.
CHOICE: Offer to buy her another one
Explore: Select picture frame, Select Window; then click on the bed (unlocked).
Tues 04/10
CHOICE: Apologise
Move to main street, move to the arcade.
Explore: Select the streaks of light, move to main street (unlocked)
Wed 04/11
Novel only.
Fri 04/13
Novel only.Sat 04/14
Novel only.
CH 2
Wed 04/18
Move to main street, move to arcade (*Note - location chosen locks to character routes)
Fri 04/20
Move to main street, move to Sharp’s Point, move to Wharfside
Sat 04/21
Novel Only
Mon 04/23
Move to institute, move inside building
Explore: Select the top section of the second door
Puzzle: The code is 1 3 3 4 1 2 4 5
Explore: Select the lanyard, Select ‘Student Profiles”, Select ‘Phi Correlation Report
Explore: Select tag on the top of the lanyard (unlocked)
CH 3
Tues 04/24
Move to arcade (forced if correct choices made)
Wed 04/25BAD ENDING 1:
CHOICE: Explore the institute
Move to institute, move inside building, move far hall, move staff passage= BAD ENDING 1. Select “YES” when asked to go back to the nearest divergence point.
CHOICE: Find Another way.This will move you to the “Keller Route”, which is the first forced character route.
KELLER MINI-ROUTE:
SpoilerFri 04/27
Novel Only
Sun 04/29
Optional: Go to Wharfside and arcade for short extra foreshadowing scenes with Isla and Eris.
Move to institute, move inside buildingMon 04/30
Novel Only= KELLER END
Upon completion of the ending, select “YES” when asked to go back to the nearest divergence point.
This will take you back to the completion of Chapter 3.
Wed 04/25
CHOICE: Explore the institute
Move to institute, move inside building, move far hall, move staff passage
TIMED CHOICE: Run and Hide (if time runs out, you go back to Bad End 1)Thursday 04/26
Novel Only - Night vision leads straight into ISLA ROUTE.ISLA ROUTE:
SpoilerThursday 04/26
Mini-Game: 30 kills for steam achievement. No difference to the story if you ‘give up’ upon failure, apart from small alternate dialogue scenes.
EDIT: It's easiest to select Isla's ship and spam the shoot button.
Friday 04/27
Novel Only
Saturday 04/28
Move Sharp’s Point, Click on synesthesia on Isla’s House.
Move Wharfside
Move main street, move Cheeky Dog
Move ArcadeMini-Game: 50 kills for steam achievement. No difference to the story if you ‘give up’ upon failure, apart from small alternate dialogue scenes.
EDIT: It's easiest to select Isla's ship and spam the shoot button.Sunday 04/29
Novel OnlyMonday 04/30
BAD ENDING 2:
CHOICE: Talk my way out of this
= BAD ENDING 2. Select “YES” when asked to go back to the nearest divergence point.
CHOICE: Charge him!
= ISLA END
After you reach Isla’s end, it will take you back to the main menu.
Open the “Eris Route” tab to see how to navigate onto Eris’ route from here.
ERIS ROUTE:
SpoilerFollow these steps to get from the common route into Eris’ route:
Open the flowchart though the tips menu, then make a jump from the “EXPLORE” tile on Wednesday 18th April (Chapter 2).
Wed 04/18
Move to main street, move to Sharp’s Point, move to Wharfside(*Note - this should lock you into Eri’s route later on if you made the correct choices according to this guide)
Hold Skip and have selected “Read Text Only” activated. New scenes with Eris may appear, but everything else can be skipped.
Fri 04/20
Skip
Press Skip button on the top right to skip explore sections.Hold SKIP UNTIL MONDAY
Monday 04/23
Press Skip button on the top right to skip explore section.
Press Skip button to skip the puzzle.
Press Skip button on the top right to skip explore sections.Tuesday 04/24
Skip
Move to Cheeky Dog (Eris should invite you to Wharfside on Saturday).
Wednesday 04/24
Skip
CHOICE: Explore the institutePress Skip button on the top right to skip explore section. This should take you through to the Crane scene that can be skipped.
Thursday 04/25
After the night vision, you will commence Eris’ route.Move to main street, move Downtown
Move to apartment.After this point, the rest of the route is novel only.
= ERIS END
After you reach Eris’ end, it will take you back to the main menu.
Open the “True Route” tab to see how to navigate onto the True Route from here.
TRUE ROUTE:
SpoilerAt this point, you should have reached both Isla’s End (the red key) and Eris’ End (The purple key). This will unlock the True Route.
Open the flowchart though the tips menu, then make a jump from the “STORY” tile on Thursday 26th April (Chapter 3, between character branches).
After the night vision on Thursday morning (which you can skip as read text), you should have a new scene with a flash of synesthesia followed by a new choice. This will confirm you’ve done everything correctly.
Thursday 04/26
CHOICE: Find Maya - This confirms True Route
(choosing ‘another time’ takes you back to Character Routes)Friday 04/27
Novel OnlySaturday 04/28
Move main street, move arcade.
Move Downtown, click on synesthesia on the building in the middle of the screen.
PUZZLE: The code is 7 4 5 3 1 2Sunday 04/29
The following 2 choices have no bearing on the story, they just slightly alter the dialogue of the scene and are a bit of a test of how close you’ve been listening.
ANSWER: How close one’s DNA matches Phi
ANSWER: The colours are information from other worldlines.Monday 04/30
EXPLORE: Click on the poster in the middle.
EXPLORE: Click on the very bottom left corner - it’s hard to see, but there is a small patch of synesthesia.
EXPLORE: Click on the safe (where the poster was).
PUZZLE: The PIN is 6 8 3 9Tuesday 05/01
Move Sharp’s Point, click on light streaks in the sky.
Move main street, move institute, move inside building, CHOICE: Search behind the buildings
Move inside building, CHOICE: Enter institute, move far hall, move staff passage, move Snow’s office
Click on the stack of papers on the left shelf (obtain “Note - Fusand Chamber” in tips).
Click on the Scuba Gear in the right corner of the office.
CHOICE: Take the plungeBAD END 3 - Take any incorrect tunnel direction (after ending, select yes when prompted and retrace steps)
TUNNEL: Directions found on “Note - Fusang Path” in tips. Correct directions are Down, Left, Right, Up, Left, Up. Any mistake will take you back to Bad End 3.
EXPLORE: Click on computer to the very right. You can also click around elsewhere for little hints of connections to other story points (optional). Move down the tunnel.CHOICE - Go to Ayako = Resign End
Following the Resign End you will end up back in the main menu. Open the flowchart through the tips menu, then click on the last “CHOICE” tile at the bottom of Tuesday 05/01.CHOICE - Resist!
CHOICE - Let Go of Ayako = TRUE ENDAfter this, you can click on the last choice in the flowchart and:
CHOICE: “Hold on to Ayako” = SPIRAL END. This is just a few lines that ties into the True End, but is likely best viewed afterwards.EPILOGUES:
SpoilerFrom the extras menu, you can select to view the character Epilogues. You can watch these in any order.
After you have watched the character epilogues, the door on the main menu screen will be able to be clicked (the mouse cursor will show a magnifying glass when hovered). Click the open door for a very short bonus scene and a brief thanks from the devs.
Hope that's helpful!
-
GAMEPLAY SAMPLER:
-
THE VII ENIGMA
Fate, love, death... Can the enigma be solved?
-

-
『The VII Enigma』is a character-driven mystery visual novel like no other. Set in a shadowy world of dystopian conspiracy, you must defy the fabric of reality, navigating the desperate path against the tyranny of time itself..
-
FEATURES:
- Sci-fi and time-travel elements integrated with action, psychological themes, plot twists and impacting character moments.
- Dynamic kinetic action sequences.
- A broad cast of complex characters set in an intricate world.
- Bad endings, normal endings, and one 'true' ending; all reached based upon your choices.
- Over 30+ songs on the soundtrack, written and recorded by composer 'Caleb Coles'.
- Over 250+ background images sporting a diverse amount of scenes and locations; alongside detailed character designs by head artist Garbiel Weisz.
- Utilizes the third-person limited perspective along with side-imaging, the combination a first for the visual novel medium, to give a larger world feel.
- 15-25 hours worth of gameplay with full 1080 HD for all assets and visuals.
- A unique in-game encyclopaedia called 'The Enigma Files', to help you piece together the clues.
- A truly stunning ending, where all the threads of mystery come together.

-

-

-
SCREENSHOTS:
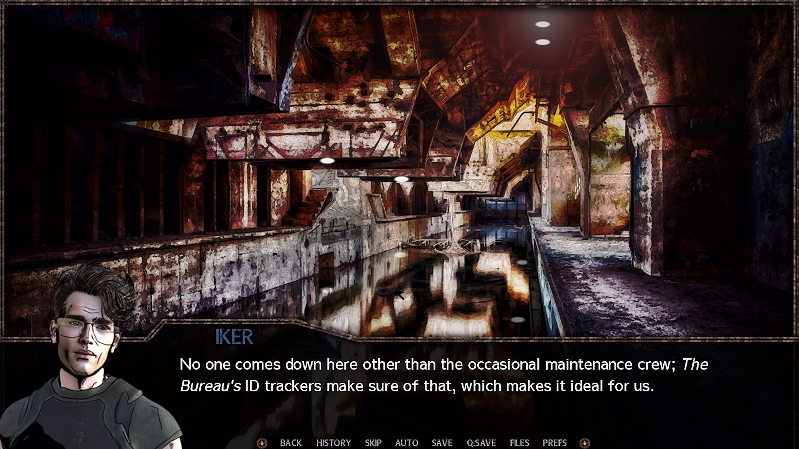
-
-
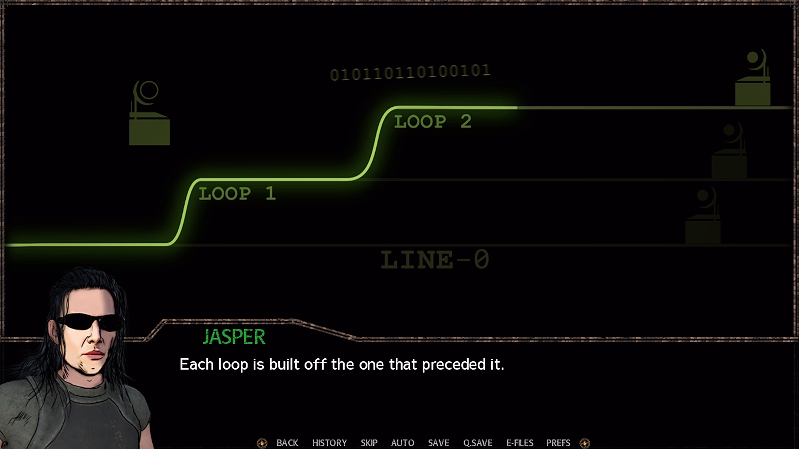
-

-

-

-

-

-
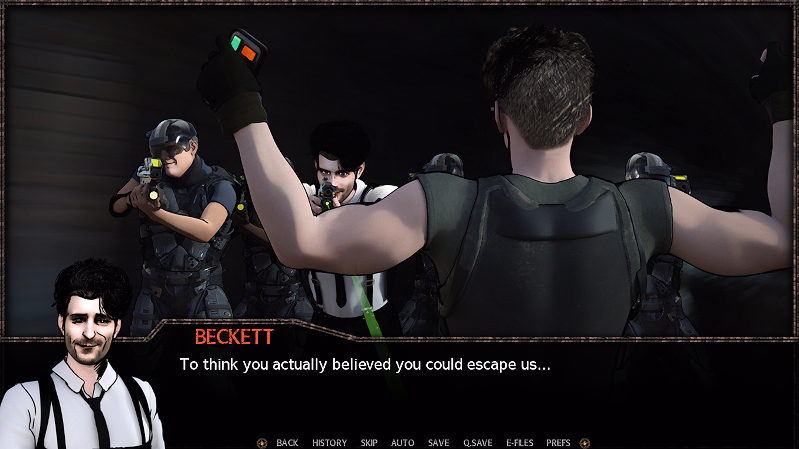
-
-
What do you think of when you see these images?
What are your expectations for 'The VII Enigma'?
- - Sci-fi and time-travel elements integrated with action, psychological themes, plot twists and impacting character moments.
-
This is a walkthrough for all endings of The VII Enigma.

https://vndb.org/v32062
THE VII ENIGMA on Steam.Summary:
Fate, love, death... Can the enigma be solved? 『The VII Enigma』is a character-driven sci-fi mystery visual novel. Set in a shadowy world of dystopian conspiracy, you must defy the fabric of reality, navigating the desperate path to the 'true end' against the tyranny of time itself.
Ending Guideline / Suggested Route Order:
The story is mostly linear, scattered with bad endings throughout. Towards the end there there are several 'normal' endings and one 'True End'. A lot of the fun of the story is navigating the choices to stay alive and therefore is best played blind initially.
If you want the best experience of the visual novel, I recommend playing through blind and saving at every choice. If you make a wrong choice you find out quickly, they don’t affect you later on down the line, so just reload when that happens until you make your way to the True End! Don't delete these saves and you can come back later to discover alternate endings.TLDR: Play the game blind and save at every choice until you reach the True End. After that (or if you get stuck) use this guide to load the relevant choices to get the remaining endings and unlock a bonus scene. If you don't care about the suspense and only want the quickest way to get 100% completion, follow this guide from the start.
CHAPTER 1SpoilerChoice 1:
Make a break for it = BAD END 1Stay calm and trust them for now = THE STORY CONTINUES…
Choice 2:
Turns away to face Iker = BAD END 2Extends his hand towards the console = THE STORY CONTINUES…
Choice 3:
Try to outrun their pursuers = BAD END 3Attempt a risky manoeuvre = THE STORY CONTINUES…
CHAPTER 2
SpoilerChoice 4:
Wait! = THE STORY CONTINUES…Open it now = BAD END 4
Choice 5:
Run! = BAD END 5Follow the man = THE STORY CONTINUES…
CHAPTER 3
SpoilerChoice 6:
Choose all 3 choices in any order to advance (The Bunk room, The main room, Search the office again)Choice 7:
The entrance shaft = THE STORY CONTINUES…The bunk rooms = A very short extra scene with Amelia.
Choice 8 :
Wait for the others = THE STORY CONTINUES…Scope it out now = BAD END 6
CHAPTER 4
SpoilerChoice 9:
Memory set One OR Memory set Two. This choice makes no difference. Whichever you make, the memories will actually play out in the same order.Choice 10:
Make a break for it = BAD END 7Find a way to fight on = THE STORY CONTINUES…
CHAPTER 5
SpoilerChoice 11:
He cannot handle it = BAD END 8We have to trust him = THE STORY CONTINUES…
Choice 12:
Pushes her opponent forward = THE STORY CONTINUES…Scream ‘Stop!’ = BAD END 9
CHAPTER 6
SpoilerChoice 13:
Inform Iker the message is ready = THE STORY CONTINUES (forced choice)??? = LOCKED CHOICE (If Quantum Eraser Ending, this will unlock. See choice 15)
Choice 14:
Send the message to 2043 = CHAOS ENDING (Normal End 1)Try to find another way = QUANTUM ERASER ENDING (The story continues…)
After the Quantum Eraser Ending, choice 13 will unlock. Click “Yes” when prompted to jump to the preceding scene, and you will jump to a few lines before the unlocked choice. I will treat this as a new choice option below for guide purposes.
Choice 15 (choice 13 looped):
Inform Iker the message is ready = Repeat Events (don’t choose this!)Check the Inbox (unlocked) = THE STORY CONTINUES…
CHAPTER 7
SpoilerChoice 16:
Say no to the voice = THE STORY CONTINUES…Save Tarah = TARAH ENDING (Normal End 2)
Choice 17:
Send a better warning to the past = BAD END 10Look for another way forward = THE STORY CONTINUES…
Choice 18:
Start the looping = THE STORY CONTINUES…Find another way forward = BAD END 11
Choice 19:
Sends the message to 2043 = CHAOS ENDING (Normal End 1. No need to do this if you already got this ending in Chapter 6. If not, do it now.)Disrupts the Tempus system = THE STORY CONTINUES…
Choice 20:
A swift follow up punch = THE STORY CONTINUES…A round of her own = BAD END 12
LOGIN CODE SCENE:
This can easily be done by entering incorrect codes, then following the hints to get the answer.
Or, you can enter:User Designation:
VII
Password:
SURVIVEChoice 21:
Step into the AEON = AEON END (Normal End 3)Heeds the Apparition = TRUE END PATH
Choice 22:
Dummy choice, select any of the ‘Keep Moving Forward’ options.
EPILOGUE: Watch after the credits to see the TRUE END__________
THE FINAL ENIGMA:
SpoilerAchieving every ending will unlock one additional scene called “THE FINAL ENIGMA”
Check your Enigma Files under “Endings Reached”, then use this guide to skip through and get the endings you haven’t achieved. If you followed the guide from the start, you should unlock it once attaining the True End.
The Final Enigma can be viewed by clicking the now illuminated “Sigma Infinity” symbol from the main menu.
__________
After this you will have achieved 100% completion of “THE VII ENIGMA”.
-
The project I'm working uses 3D models as the basis for the characters, but they are then drawn over the top so it doesn't have that overly realistic look that is off-putting.
You can check out the result on the screenshots of the steam page if you're interested. I'd definitely recommend this method: -
First post!
Thanks for the video, can't wait for Full Metal Daemon Muramasa. Been waiting for it for years.- NowItsAngeTime and Stormwolf
-
 1
1
-
 1
1


SYNESTHESIA Walkthrough
in Unformatted Walkthroughs
Posted
Mainly for ease of formatting, and to follow the guidelines for formatting character routes according to this link:
I've tried to keep the guide spoiler free other than what I need to outline for choice.
Hope that helps!